Blog
Wet season photography
Here in North Queensland, January to March is the wet season… a time of year when the heat and humidity really kicks in, mosquitos come out to play and when it feels like monsoonal skies could descend at any minute. Throw in the possibility of cyclones and flooding and it may seem like photography is something best left for another time.
It is however one of my favourite times of year to grab the camera and head off into the outdoors… tropical creeks and waterfalls are pumping, the rainforest and tablelands areas are at their greenest, mist shrouds the peaks of sodden mountain tops and the sky is menacingly grey or lit up with fantastic morning light. Being low season, few tourists get to see this unpredictable and moody side of North Queensland, but it definitely throws up photographic opportunities unique to these months of the year.
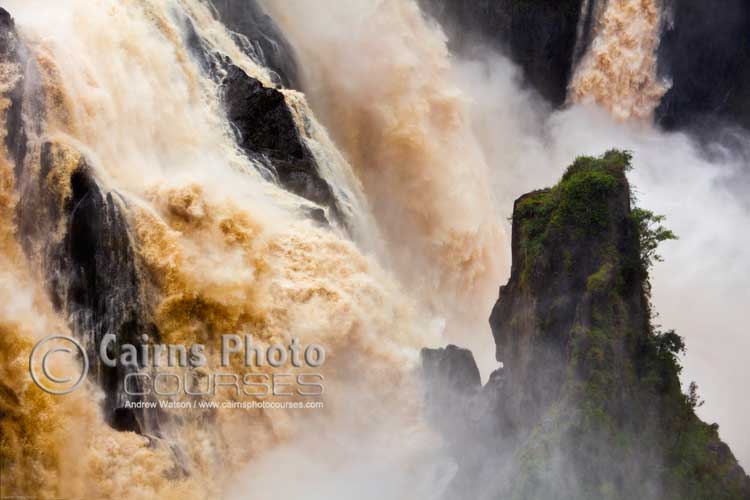
Barron Falls with high shutter speed to freeze action of water. Canon 5D MkII, Tripod, 85mm, ISO 200, f5.6 @ 1/500 sec
The Coast
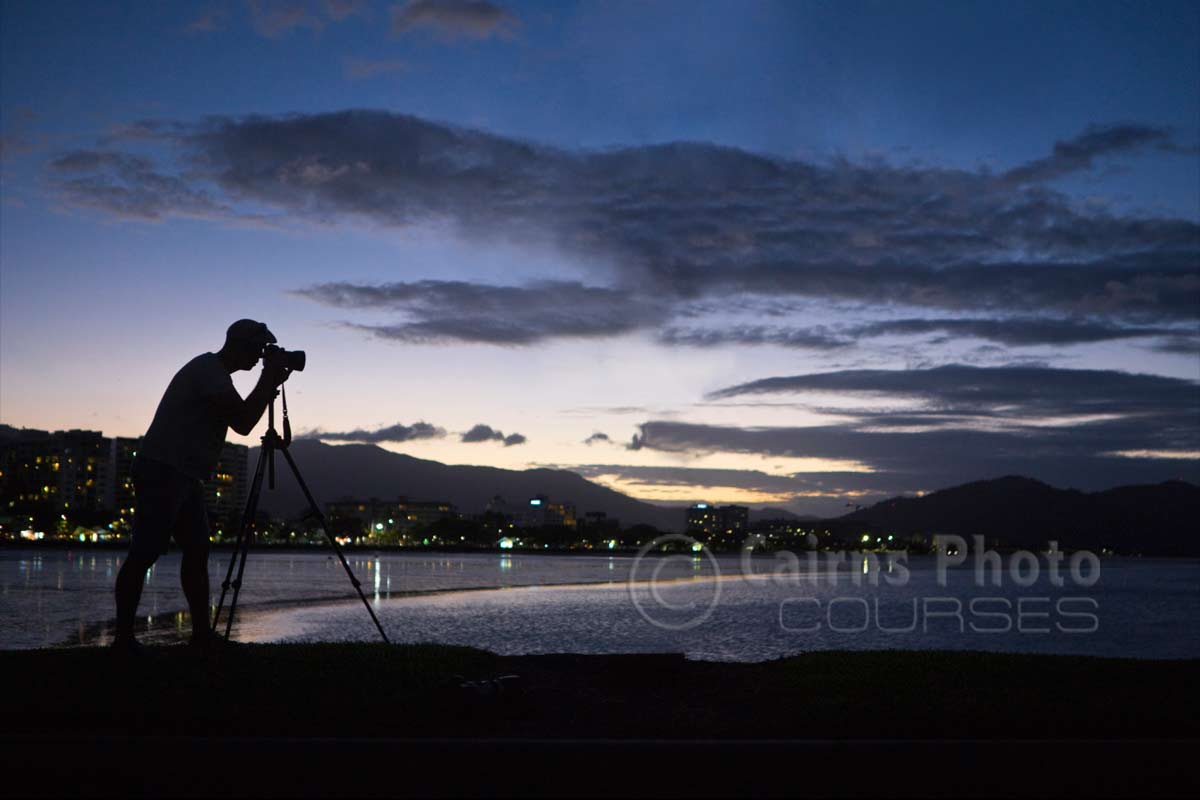
Getting up for sunrise during wet season is always bit of a lottery. Early morning cloud over the Coral Sea can mean either a total grey out or a sky painted in a beautiful crimson or golden light. Aim to get to your location at least half an hour before sunrise, so you can find your best position and have your camera set up and ready. If things don’t look good for a sunrise shot, hang around a little while… conditions can change quickly and often great light reveals itself just after dawn.
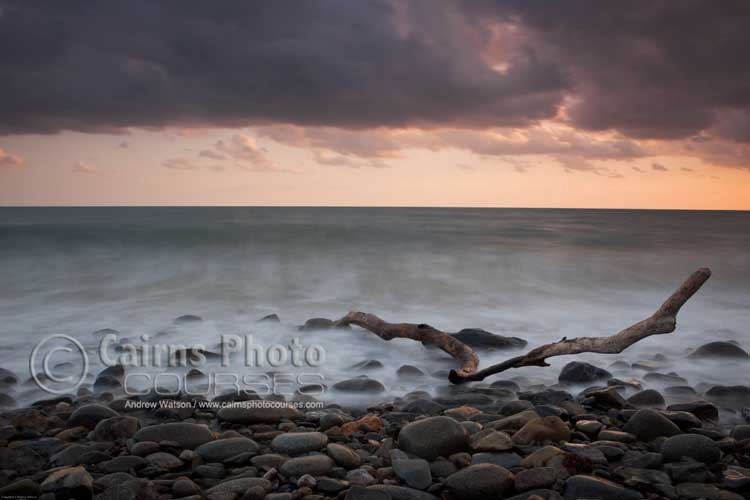
Use long exposures (1 sec +) to blur the waves crashing on the shore and use a graduated neutral density filter to balance the sky and foreground exposure, or to make the sky more dramatic.
Long exposure and ND grad filter to darken sky. Canon 5D, Tripod, 26mm, ISO 100, f11 @ 3.2 sec
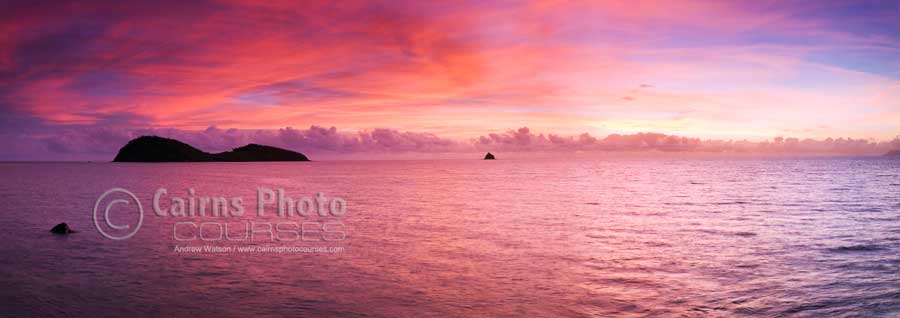
Wet season sunrise over the Coral Sea. Canon 5D, Tripod, Grad ND filter, 50mm, ISO 100, f11 @ 1 sec
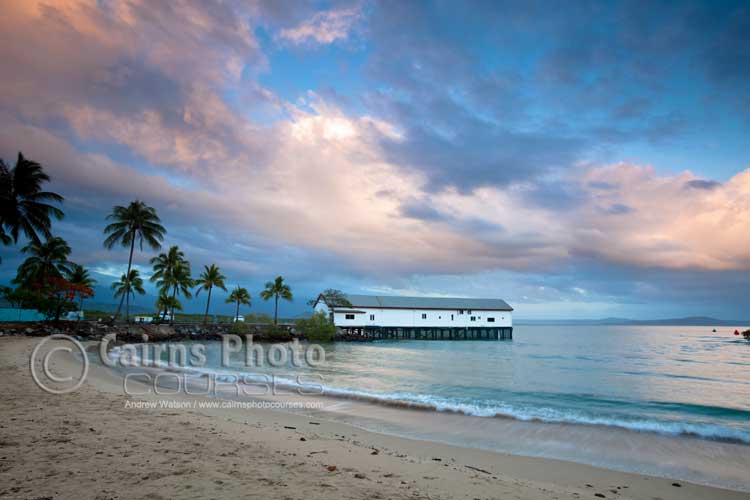
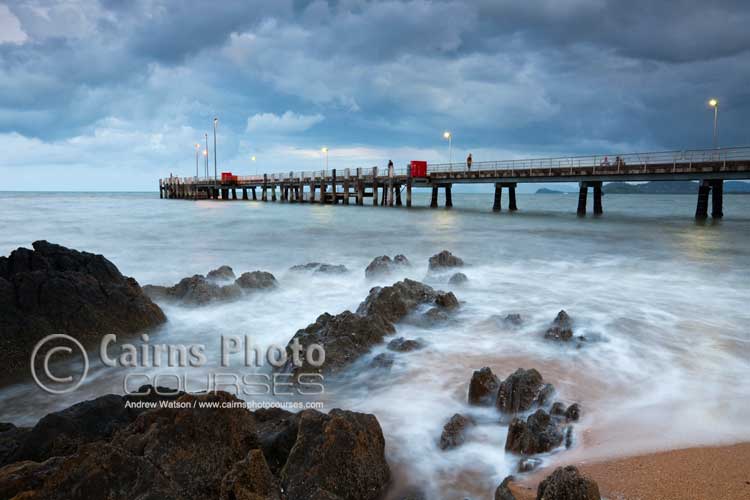
Moody Port Douglas sky at Sugar Wharf. Canon 5D MkII, Tripod, 20mm, ISO 50, f11 @ 1/2 sec
Dawn seascape at Red Cliff Point. Canon 5D MkII, Tripod, 25mm, ISO 125, f16 @ 6 sec
Waterfalls
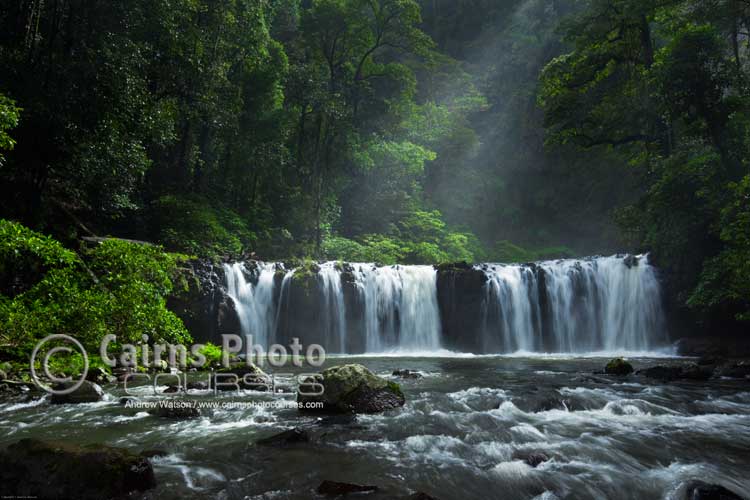
Overcast or rainy days are actually the best for shooting waterfalls, as the reduced contrast means that you can capture all the detail in the waterfall and surrounding greenery. Lower light levels also allow you to shoot with slower shutter speeds, enabling easier blurring of the water movement (generally anything slower than 1/2 sec).
Use a tripod and a polarising filter (or a neutral density filter), which not only allows longer exposures but can be used to reduce the glare off the water and foliage. To really give the viewer as a sense of the location, shoot low from just above the water level. Experiment with different shutter speeds to get the effect you’re looking for. Manual exposure is generally the best exposure mode to use, combined with a low ISO value (eg. ISO 100).
Visiting waterfalls in full flood usually means that you’ll be up against mist generated at the base of the falls. If you intend on getting up close and personal, bring something to dry your camera from the moisture, or a cover that you can use to shield your camera between shots. An umbrella also allows you to keep shooting when the inevitable rains arrive.
Getting low over the water to shoot Nandroya Falls. Canon 5D MkII, Tripod, 26mm, ISO 100, f16 @ 1/10 sec
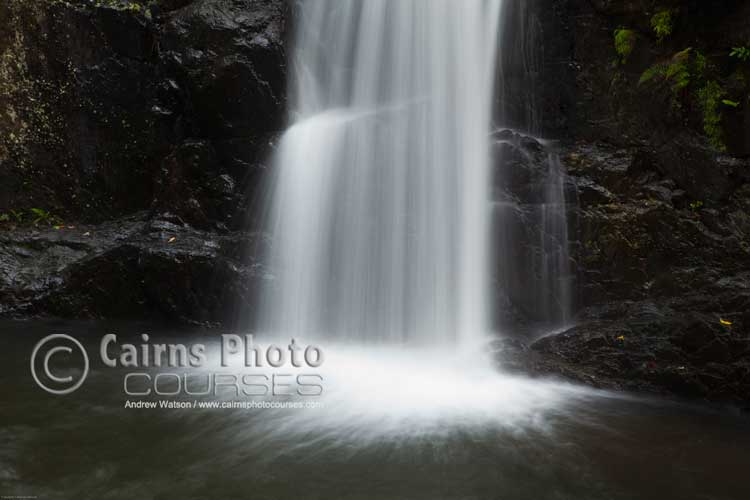
Tropical waterfall with slow shutter speed. Canon 5D MkII, Tripod, 75mm, ISO 50, f16 @ 1.6 sec
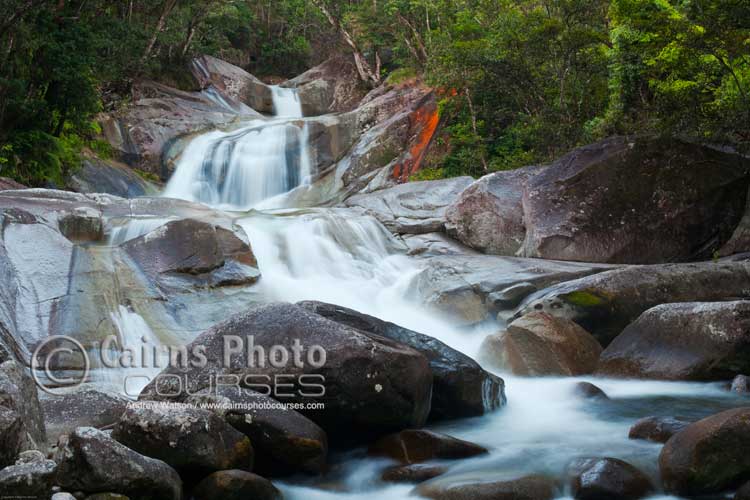
Josephine Falls after monsoonal rains. Canon 5D MkII, Tripod, 50mm, ISO 100, f16 @ 3.2 sec
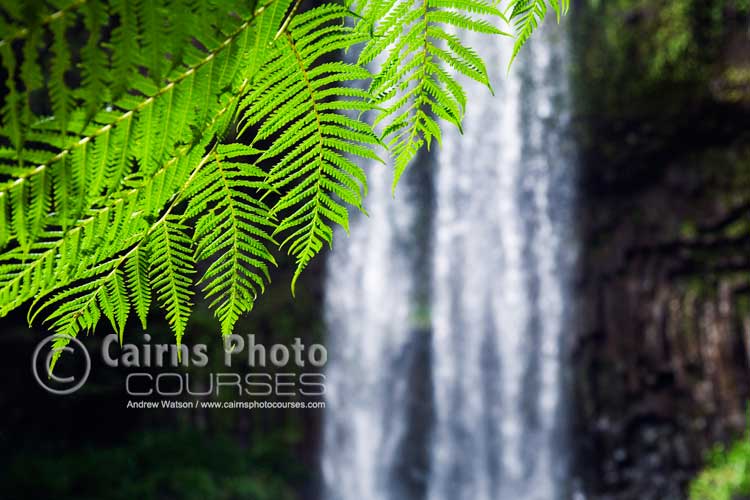
Using a large aperture to isolate fern leaf from background. Canon 5D, Tripod, 64mm, ISO 400, f5.6 @ 1/160 sec
Rainforests & Creeks
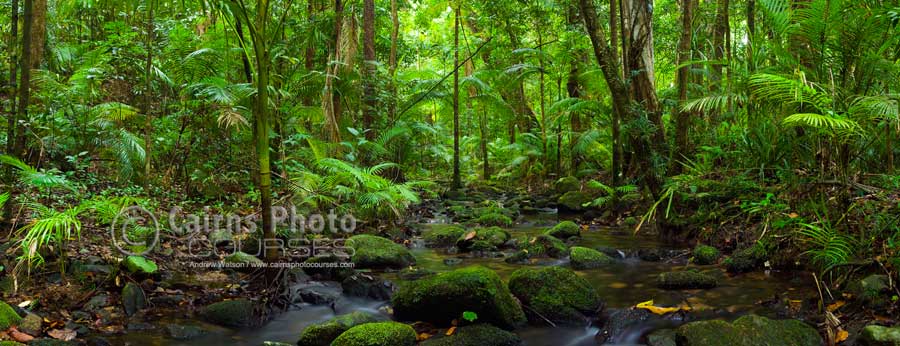
As for when shooting waterfalls, cloudy or slightly rainy days are my preferred option for shooting in rainforests. The reduced contrast enables you to better expose for wide landscapes, as well as small rainforest detail. Again, a tripod and polarising filter are essentials, as is a full can of mosquito repellant to ward off the ferocious little biters.
Use of a low ISO and the darker conditions in the rainforest will necessitate longer exposures on the tripod. Figure on using a medium to small aperture (f8 to f16) to get sharp, clear detail in your wide shots, but watch for too much motion blur in the trees and switch to a higher ISO if necessary.
Also look out small detail that can be shot with a macro lens or setting… lichens, mosses, leaf details, insects or fungi. Choose a larger aperture (f4 or f5.6) to isolate your macro subject from the background. A bit of fill flash can also be used to add some additional light and colour.
Long exposure and polarising filter to reduce glare on leaves. Stitched pano, Canon 5D, Tripod, 50mm, ISO 100, f11 @ 10 sec
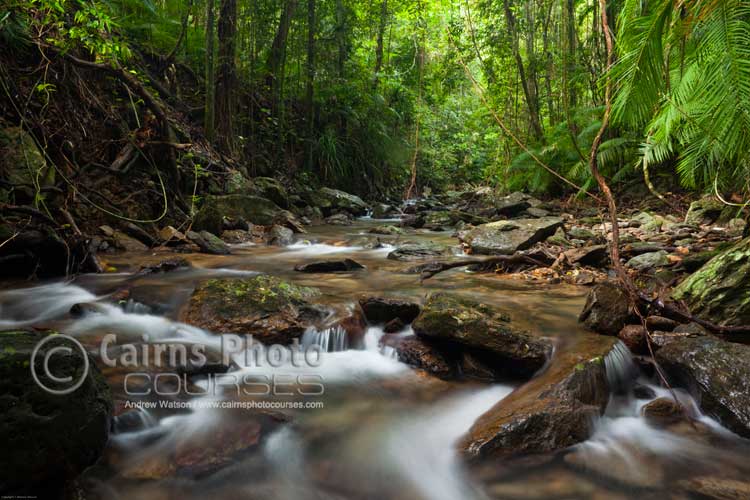
Small aperture and polarising filter in shooting a rainforest creek. Canon 5D MkII, Tripod, 24mm, ISO 200, f16 @ 3.2 sec
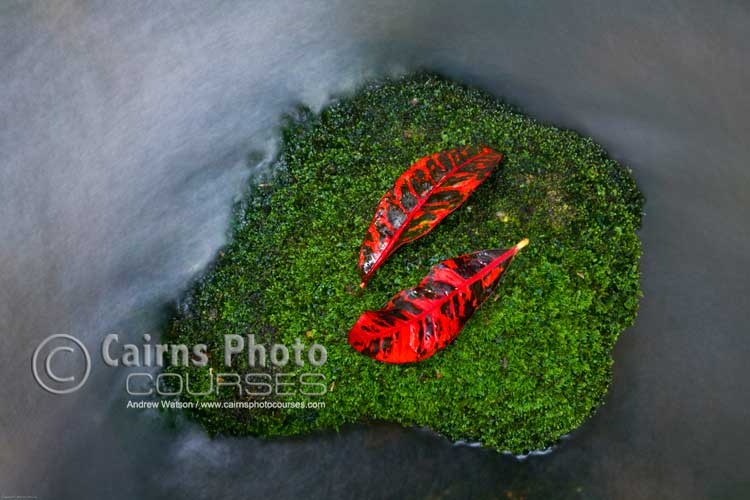
Colourful rainforest detail with long exposure for water. Canon 5D, Tripod, 58mm, ISO 100, f16 @ 10 sec
We’re lucky in North Queensland to have really diverse rainforest areas, some of which you don’t have to venture far from the city to experience. Irrespective of whether you have a DSLR or compact camera, rainforests are the perfect place to relax, unwind and experiment with your camera… you’ll no doubt bring back some memorable images.
Photographing a rodeo
Well it’s that time of year again… a chance to dust off your akubra and don your finest RM Williams (or if you’re a city slicker like myself, anything in your wardrobe a little bit country). The Mareeba Rodeo is just around the corner and for a glimpse of rodeo culture, it’s a great opportunity, just an hour’s drive west of Cairns.
Along with chaps in chaps, holding on for dear life on the backs of bucking broncos and bristling bulls, there’s a load to shoot during any rodeo. Capturing those moments takes some skill, a little bit of knowledge and a whole lot of luck. Anyway, here’s some tips to help you take home some memorable rodeo shots…
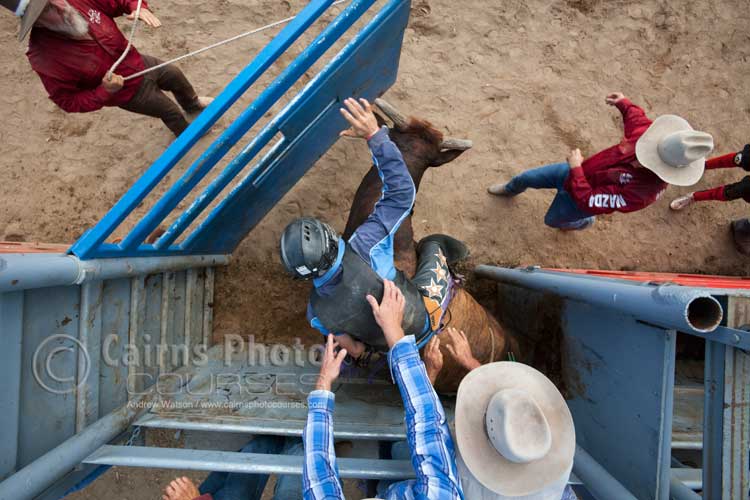
Overhead shot of bull rider in bucking chute. Canon 16-35mm lens @ 17mm, f8 @ 1/400 sec, ISO 500
The Gear
A DSLR capable of a couple of frames of second will allow you to capture the action, with at least two zoom lenses (say, 24-70mm and 70-200mm lenses). If you’re ringside or perched up in the stands watching on, you’ll probably need a bit more focal length reach… so a 1.4 or 2x extender or a 300-400mm lens will help you get in closer. A wide angle or fish-eye lens will also give some interesting perspectives, if you can get up close to the action.
Unless your shooting at night, you can probably ditch the flash. Just crank up the ISO so that you can use a shutter speed fast enough to freeze the action (at least 1/500 sec). Also if you’re at the bucking chutes, flash can spook the livestock, which can earn you some harsh words from the cowboy fraternity.
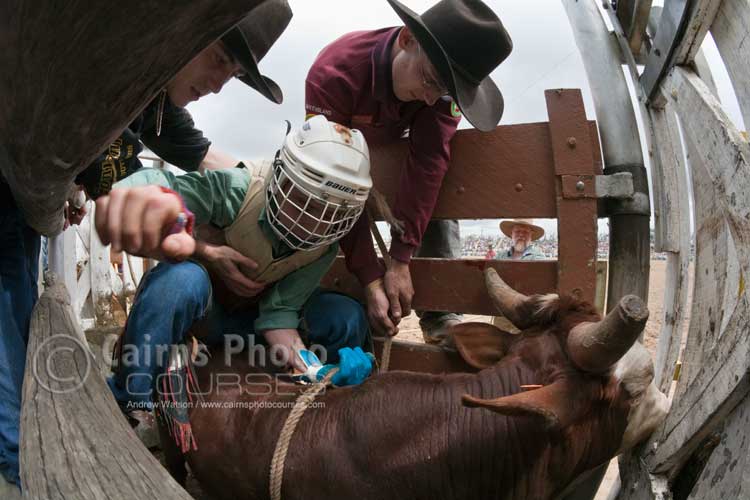
Bull rider in bucking chute. Canon 15mm fish-eye lens @ 15mm, f11 @ 1/125 sec, ISO 200
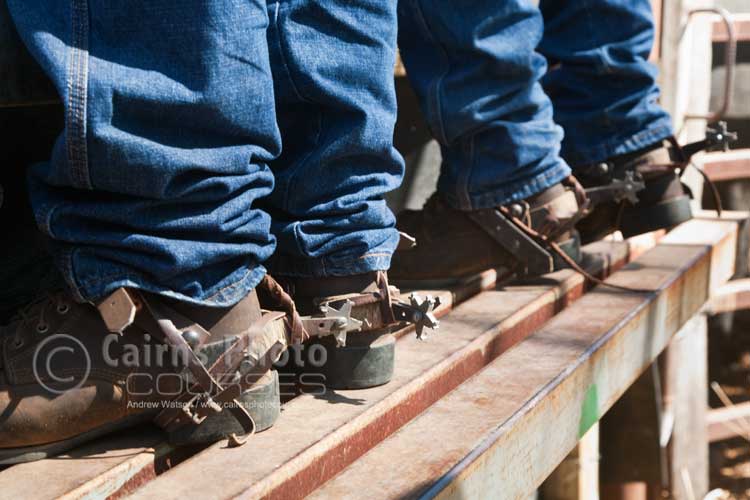
Cowboy spurs. Canon 24-105mm lens @ 65mm, f8 @ 1/40 sec, ISO 200
Where to Shoot From
Rodeo rings generally have high 8 ft fences and for good reason… they need to be able to keep in bulls that can weigh up to a tonne and are highly unpredictable. Most rings also have an inside channel for livestock to be moved from a staging area to the bucking chutes. Climbing up on any rodeo fence has it’s dangers, but if you keep your wits about you and always keep an eye on what’s going on in the ring, they can be great vantage points. Alternatively, you can try to shoot through the fence railings or get down low and shoot from ground level.
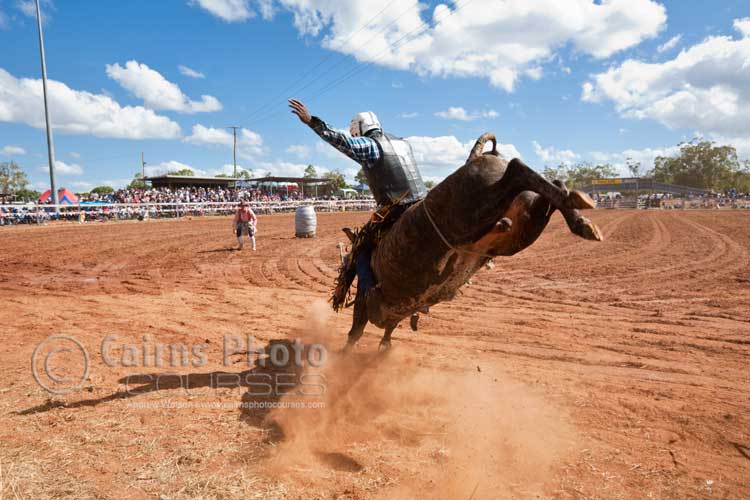
Bull rider in action. Canon 16-35mm lens @ 24mm, f8 @ 1/500 sec, ISO 400
One of my favourite locations to shoot from is from the competitors area and around the bucking chutes. Again this is something you do at your own risk, and really depends on how strict the rodeo organisers are with photographers. If you do get access, be alert, keep out of the way and don’t interfere with the competitors or the livestock handlers.
For something like bull-riding, the closer you can get to the bucking chutes, the better… as the action happens immediately the gate is opened. For other events, like the steer wrestling or calf roping, a ringside position directly opposite the chutes will allow you to get head on shots of the action, though you’ll probably need a long lens.

Cowboy runs for safety. Canon 100-400mm lens @ 400mm, f8 @ 1/1000 sec, ISO 200
How to Shoot
For most of the action you’ll want to freeze motion, so high shutter speeds are critical. Use shutter speeds of 1/500 sec or faster. Use high ISO’s if you need to (often I’ll use 400 or 800 in sunny conditions or around 1600 in overcast conditions) and shoot in manual exposure mode if the lighting is consistent. Otherwise use shutter speed priority, to lock down your shutter speed. Use fast lenses (with large maximum apertures, like f2.8) and use large apertures, f2.8 – f5.6 to enable faster shutter speeds and to separate your subjects from the background.
Other times, say for the roping events, you might want to try a bit of panning action, with a slower shutter speed (1/30 to 1/125 sec) to blur the background and give the sense of speed.
When capturing moving action, be sure to switch your camera’s auto-focus mode to servo to track the subject.
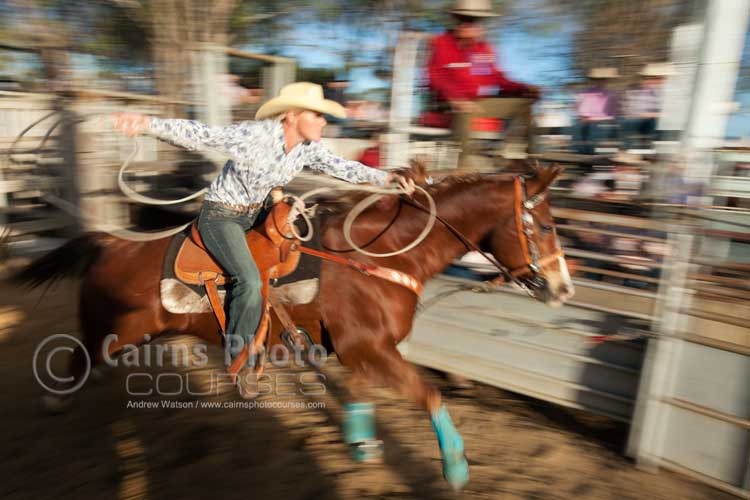
Panning shot of cowgirl in breakaway roping. Canon 16-35mm lens @ 25mm, f8 @ 1/60 sec, ISO 100
What to Shoot
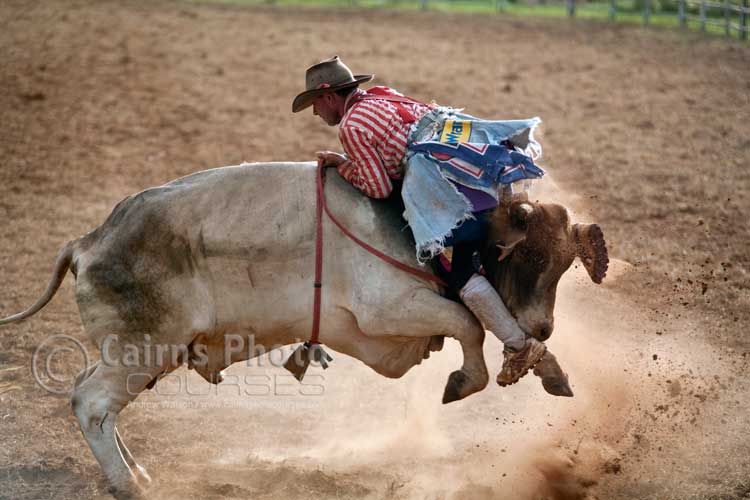
The heart-in-mouth excitement of the bull-riding is undoubtedly the highlight of any rodeo. Capturing the tense moments just before the ride (in the bucking chutes), the rugged and frenetic action of the ride, and the triumphant conclusion or back to earth thud of a bull-riding fail is what’s it’s all about. The jagged unpredictable nature of the ride make it a tough one to follow photographically, but try to shoot tight to get the enthralling expressions of the rider and onlookers.
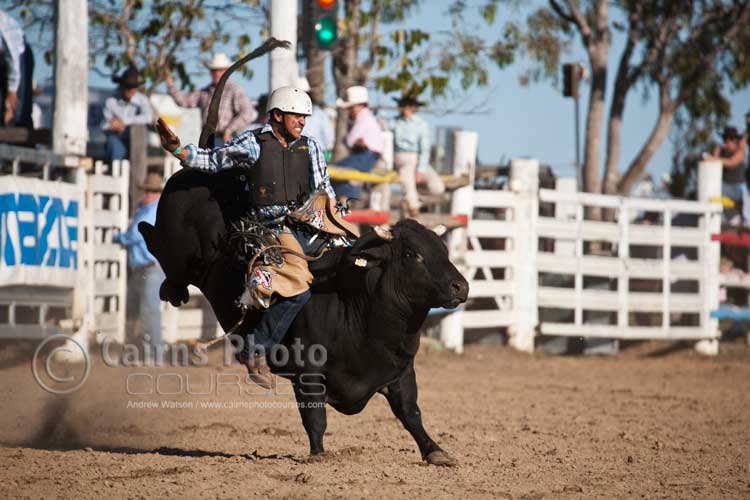
Bull rider holding on. Canon 100-400mm lens @ 400mm, f5.6 @ 1/1250 sec, ISO 400
The Saddle Bronc Riding is a mix of style and control as the rider clings perilously one-handed to the back of a bucking bronco. Bareback Bronc riding is similar, but with the cowboy in for a wilder ride, without the use of a saddle or rein. Horse and rider getting air, spills, tumbles and epic moments happen in the space of a few seconds.
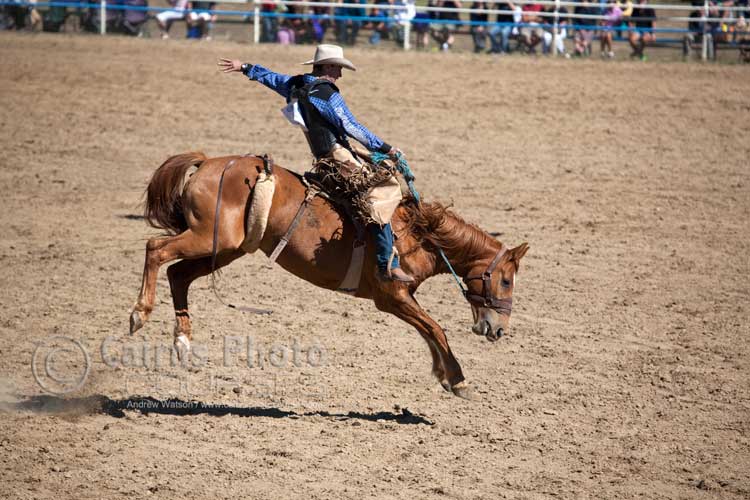
Saddle Bronc Rider. Canon 100-400mm lens @ 300mm, f5.6@ 1/3200 sec, ISO 400
Barrel racing is a fast-paced horesback sprint as riders are timed completing a route around a series of barrels. Use a high shutter speed to freeze motion as they round their marks or a slow shutter to give the feeling of speed, using panning.
The Rope and Tie is a great spectacle of skill and and teamwork between horse and rider, as he first tries to lasso his calf at speed and then dismounts to flank it on it’s back and bind three legs. Get a position opposite the chutes and use a long lens to capture the action.
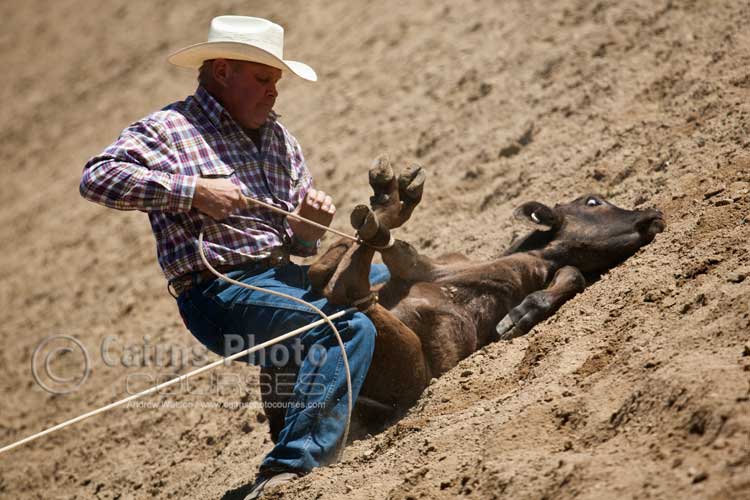
Calf roping. Canon 100-400mm lens @ 360mm, f7.1 @ 1/800 sec, ISO 250
Steer wrestling is all about timing and co-ordination as the rider pulls alongside his steer, leans over to grab the steer’s horns and then uses his weight and strength to slow it down and lever it onto its side. Again, most of the action tends to happen in the middle of the ring, so you’ll need to be shooting from as close as possible ringside.
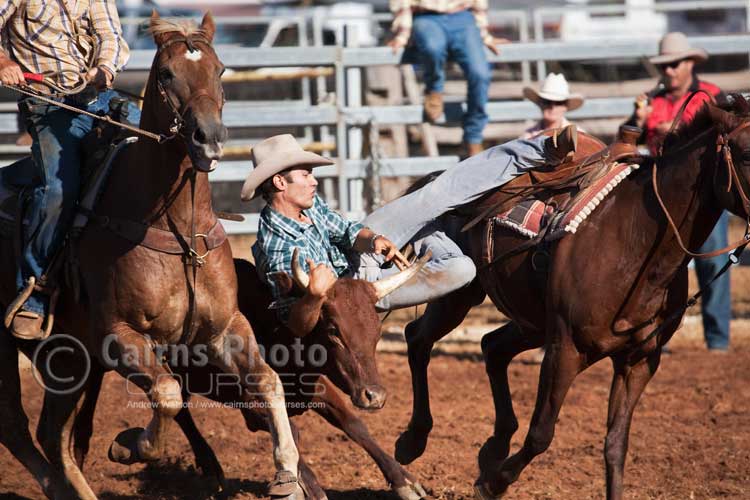
Steer wrestling. Canon 100-400mm lens @ 350mm, f6.3 @ 1/1000 sec, ISO 400
Team roping involves two riders as they combine to try to catch and then control a steer… one attempts to lasso it’s back legs while the other lassos its head, stopping it’s motion and then binding its back legs.

Team roping event. Canon 100-400mm lens @ 235mm, f8 @ 1/800 sec, ISO 400
Don’t just restrict yourself to photographing the action inside the ring, look for candid shots of both the competitors and spectators. If you’re like me, rodeo culture can seem as foreign as any overseas country, which can be a great thing. Try to tell the story of the day, with images that reflect both the events and the culture and fashions of the people in attendance. Have fun and hold on tight…
Canon 70-200mm lens with 1.4x extender @ 280mm, f4 @ 1/640 sec, ISO 400
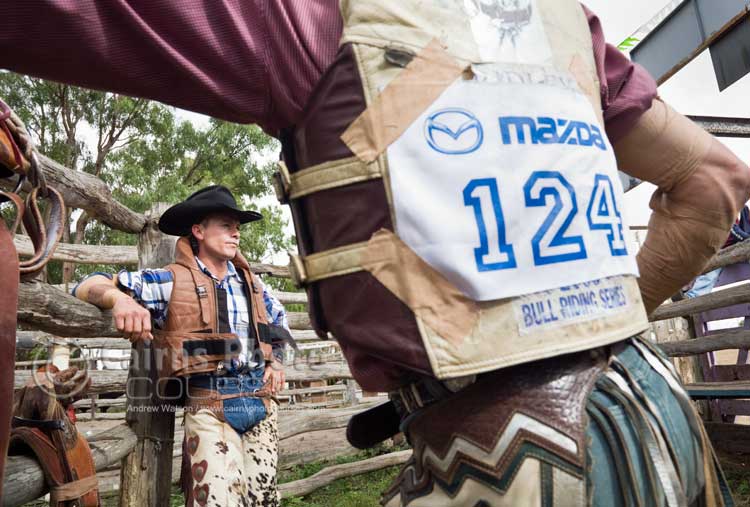
Portrait of rodeo cowboys awaiting bull ride. Canon 24-105mm lens @ 24mm, f8 @ 1/125 sec, ISO 400
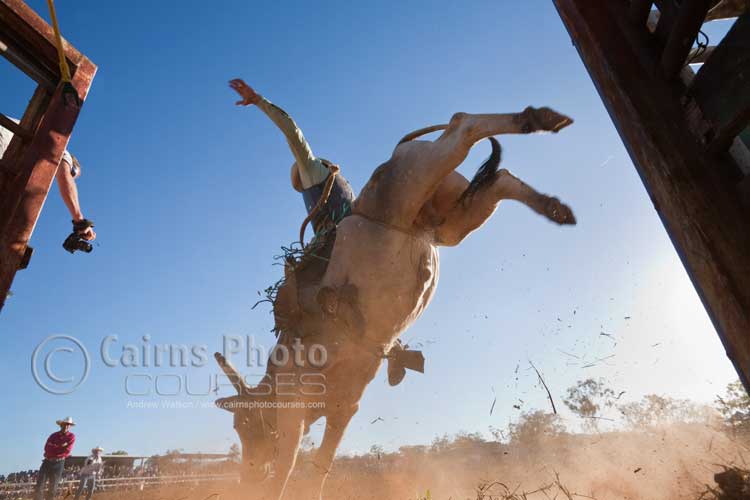
Low angle shot of bull rider in action. Canon 16-35mm lens @ 20mm, f8 @ 1/500 sec, ISO 400
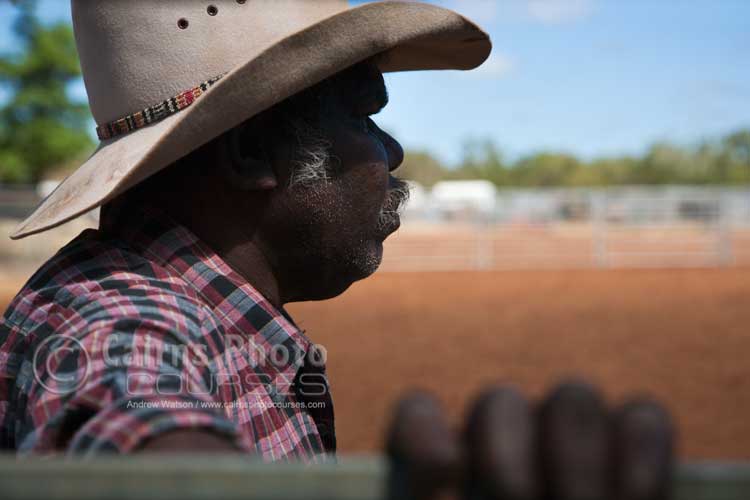
Portrait of an indigenous rodeo cowboy. Canon 24-105mm lens @ 82mm, f5.6 @ 1/1250 sec, ISO 200
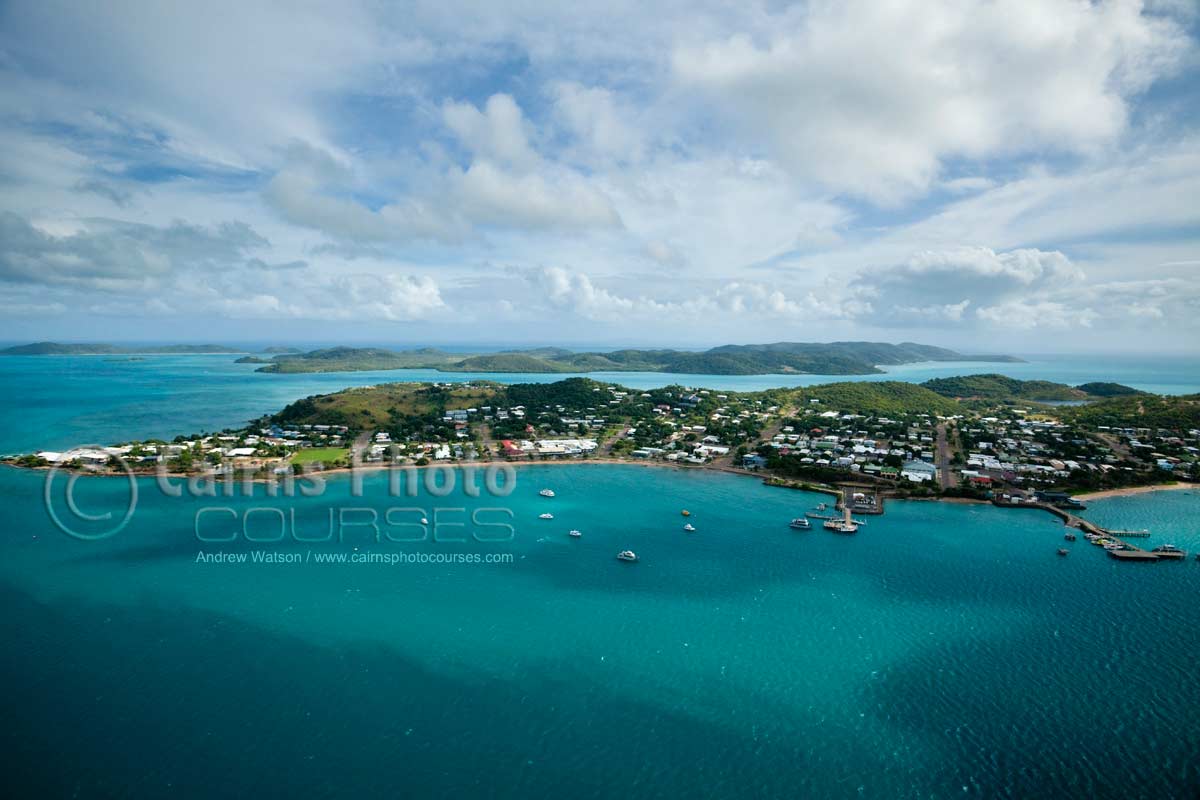
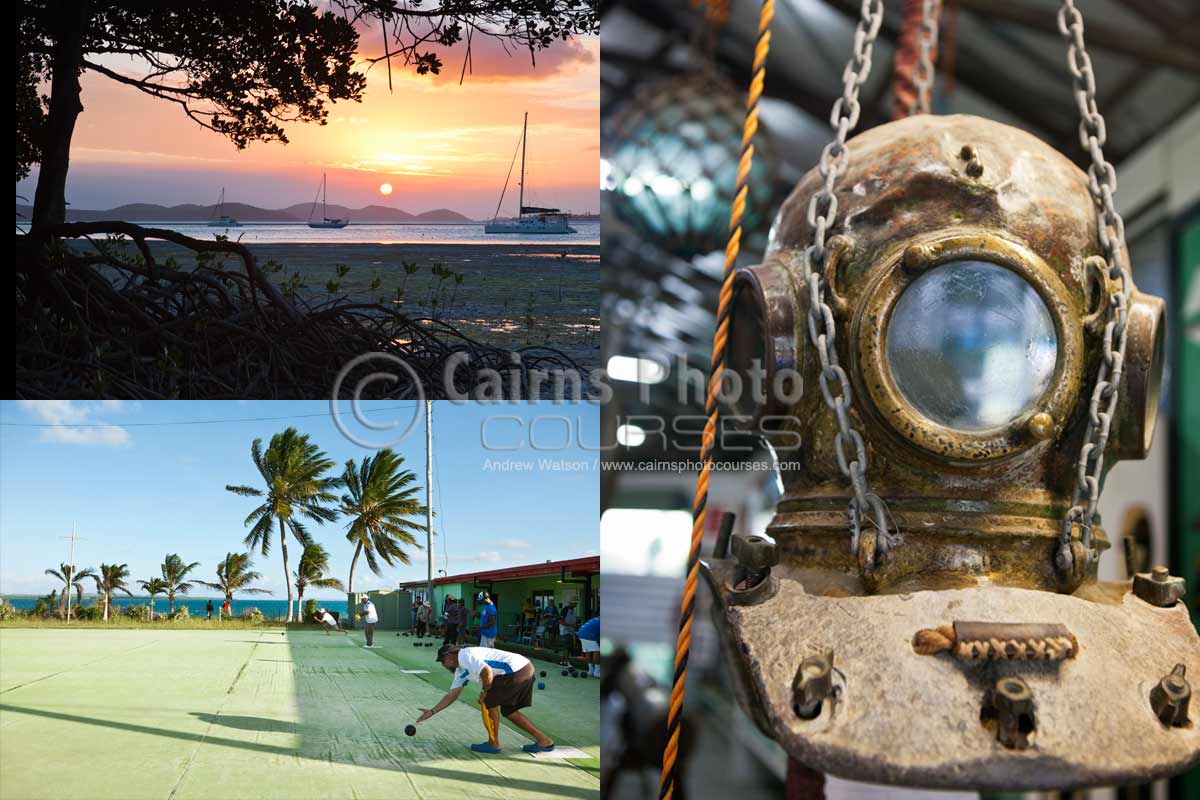
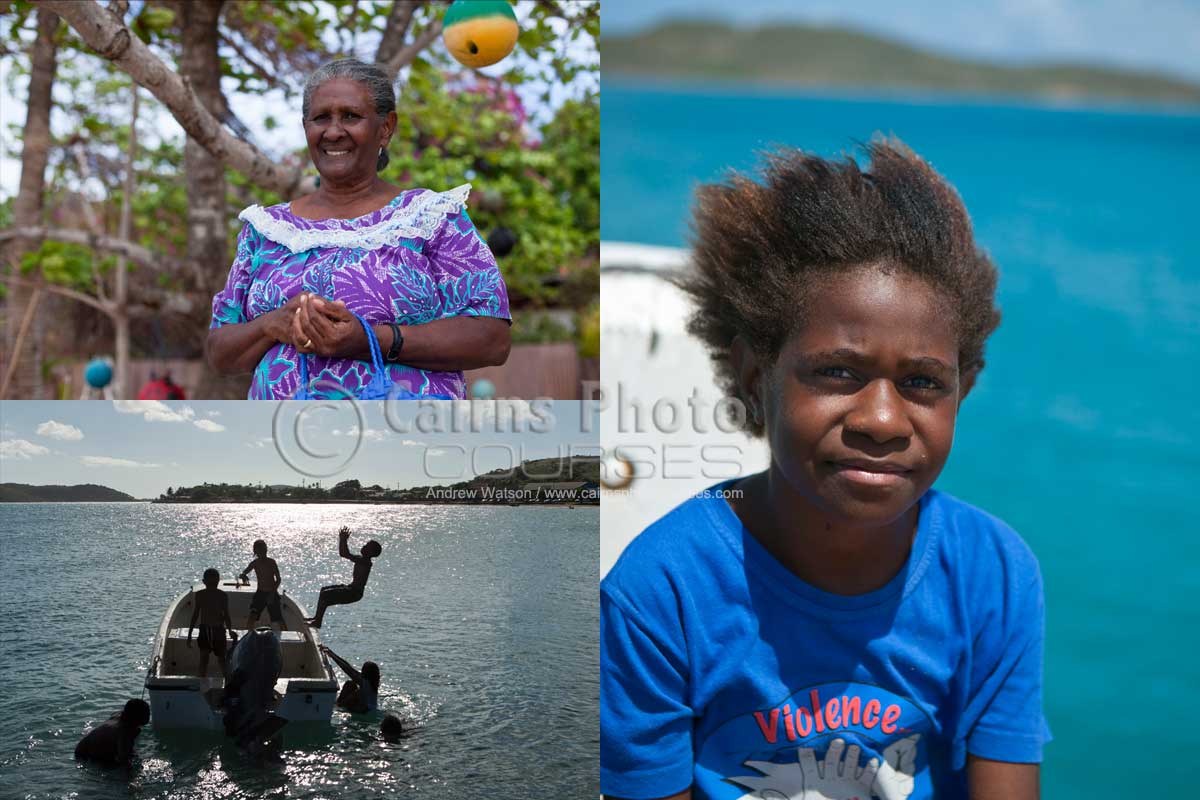
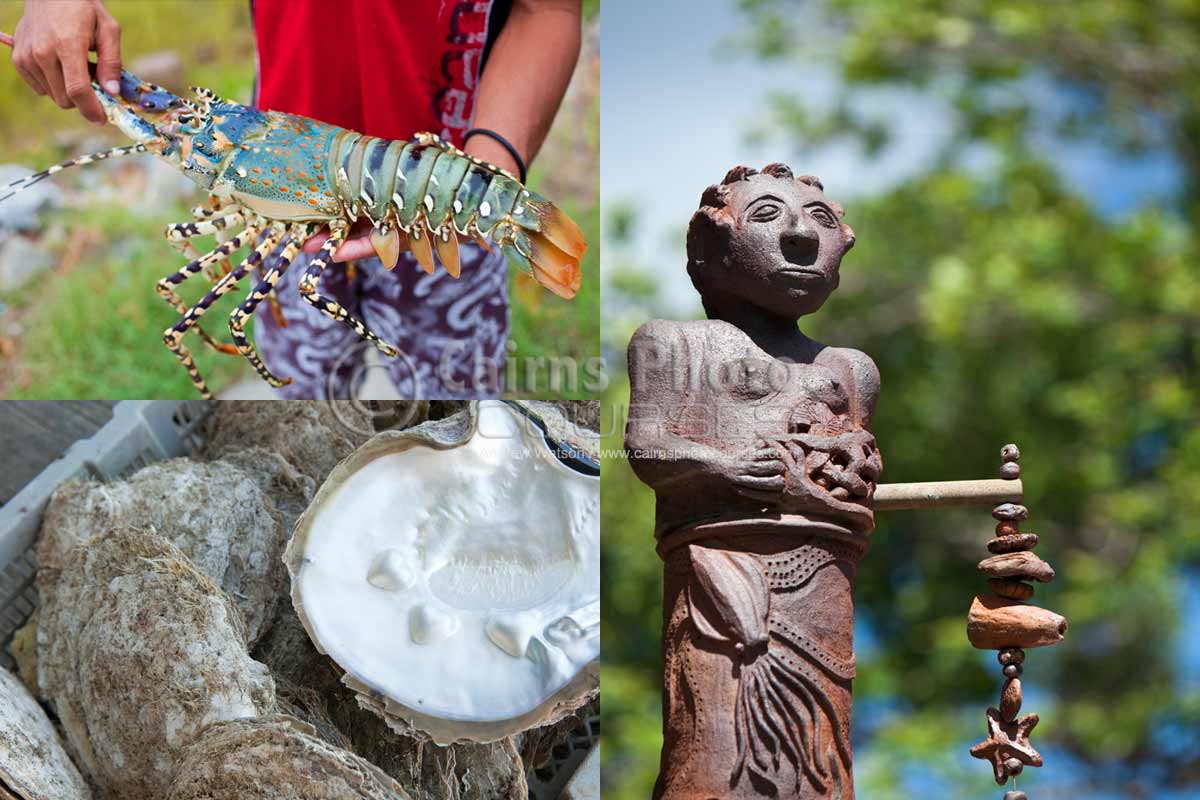
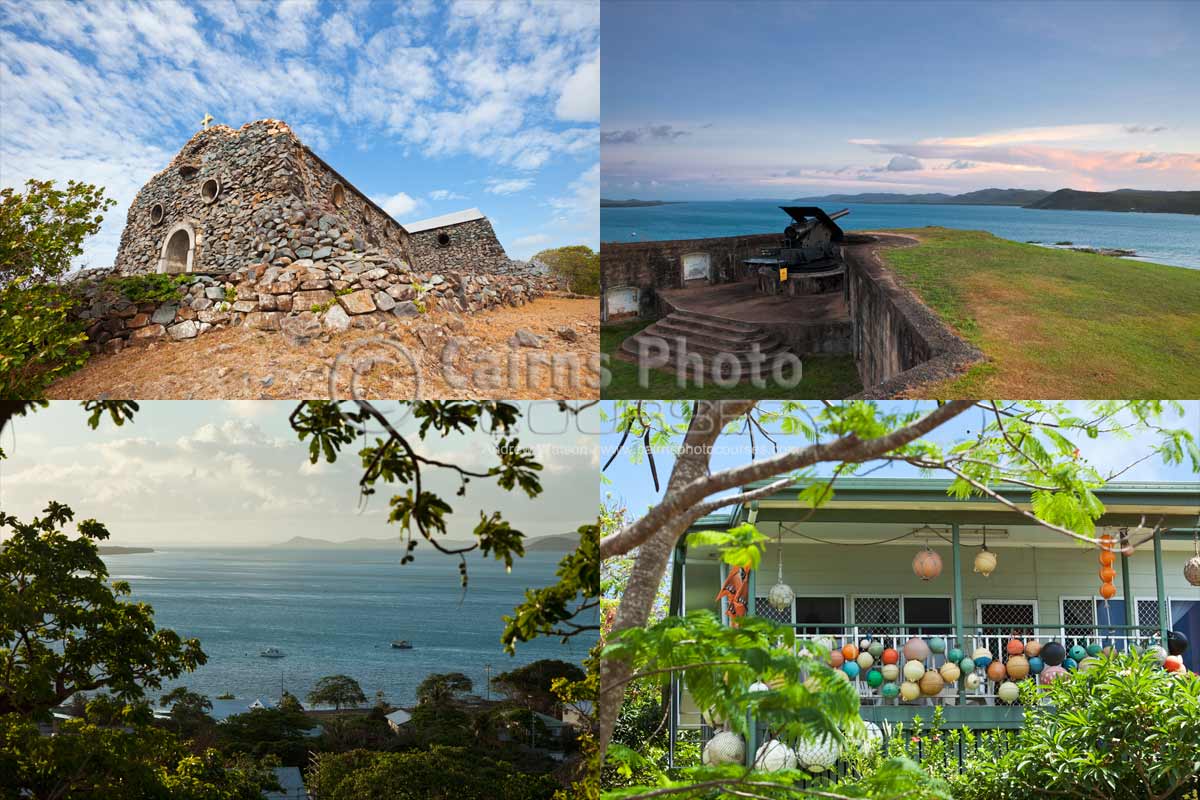
Trip to Torres Strait Islands
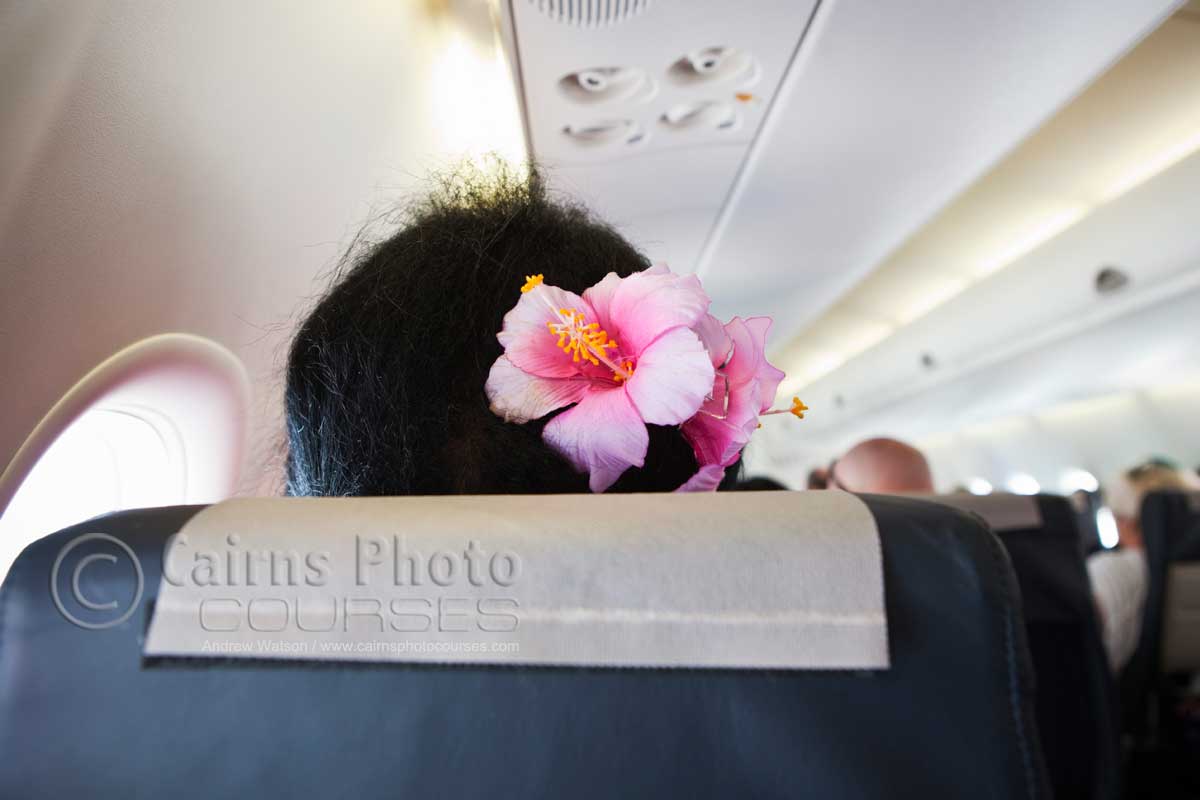
Last weekend was fortunate to be up in the Torres Strait doing some commercial photography for some clients on Thursday Island. Along with aerial images, managed to shoot some editorial-style travel images of this unique, Far North Queensland region. This place is beautiful and slow-paced, with a real sense of culture, history and remoteness.
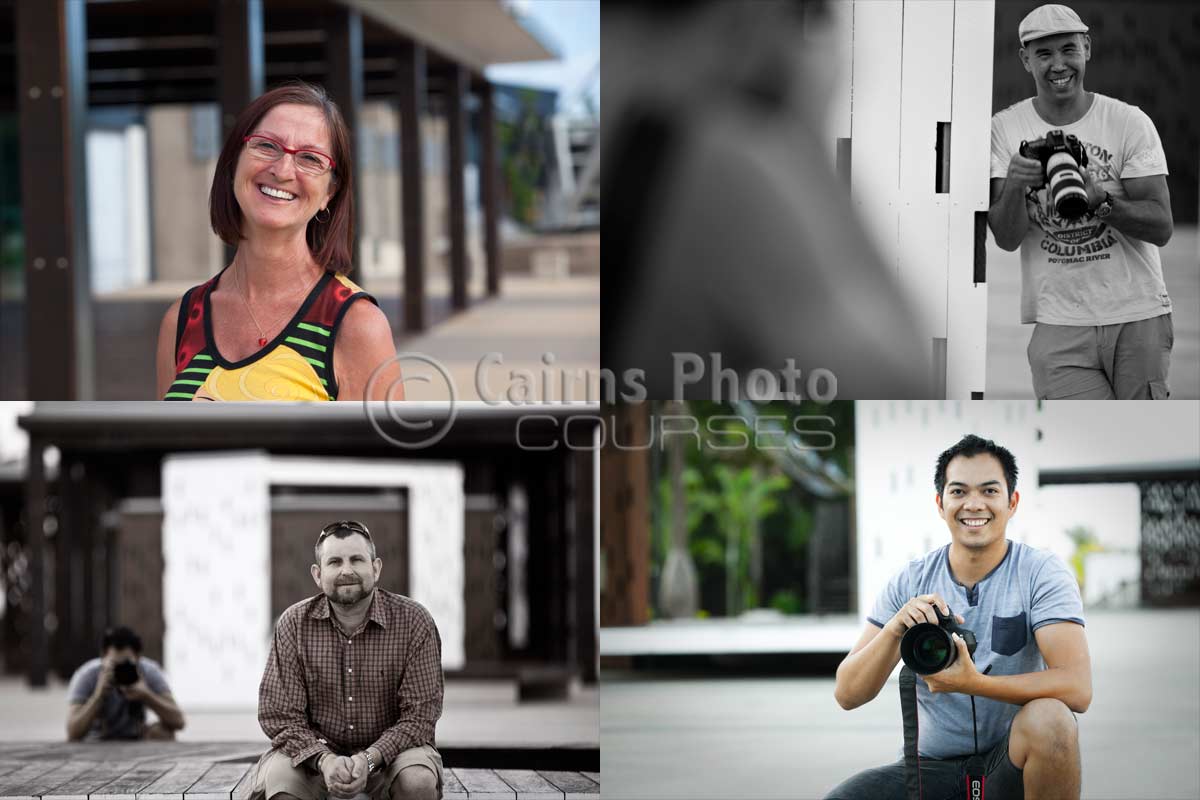
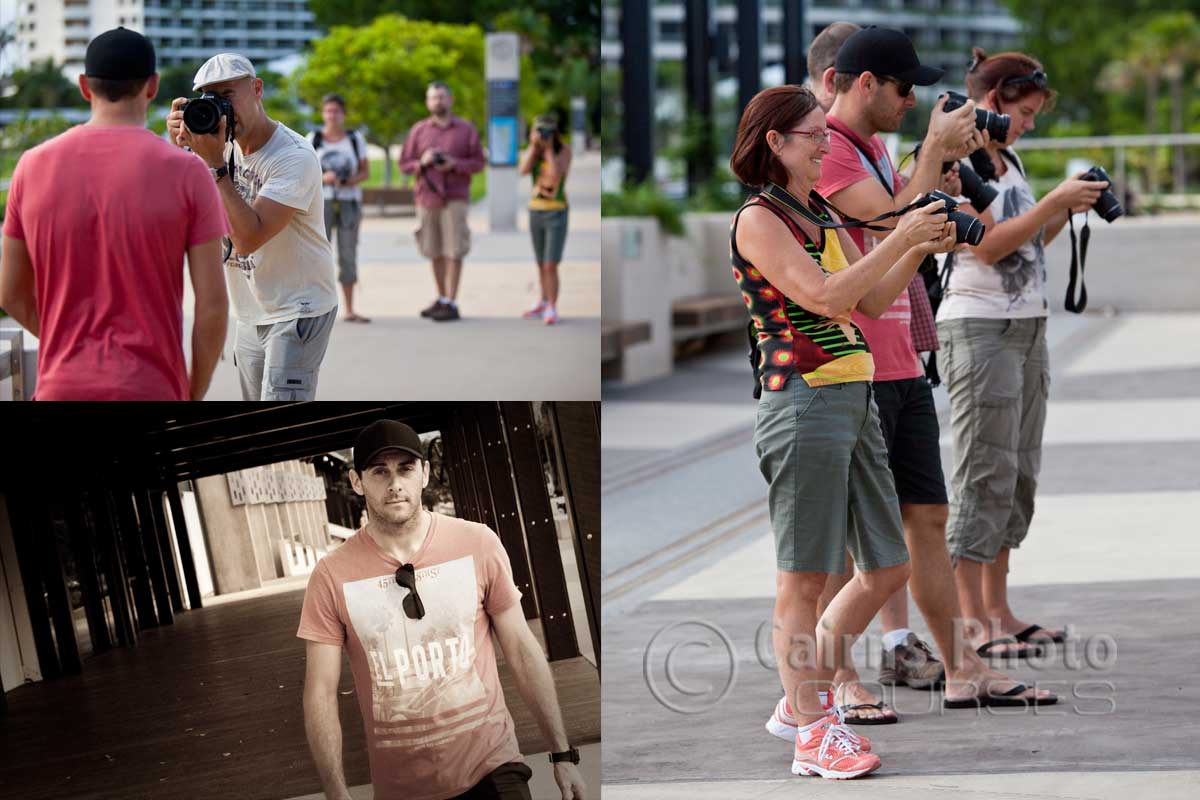
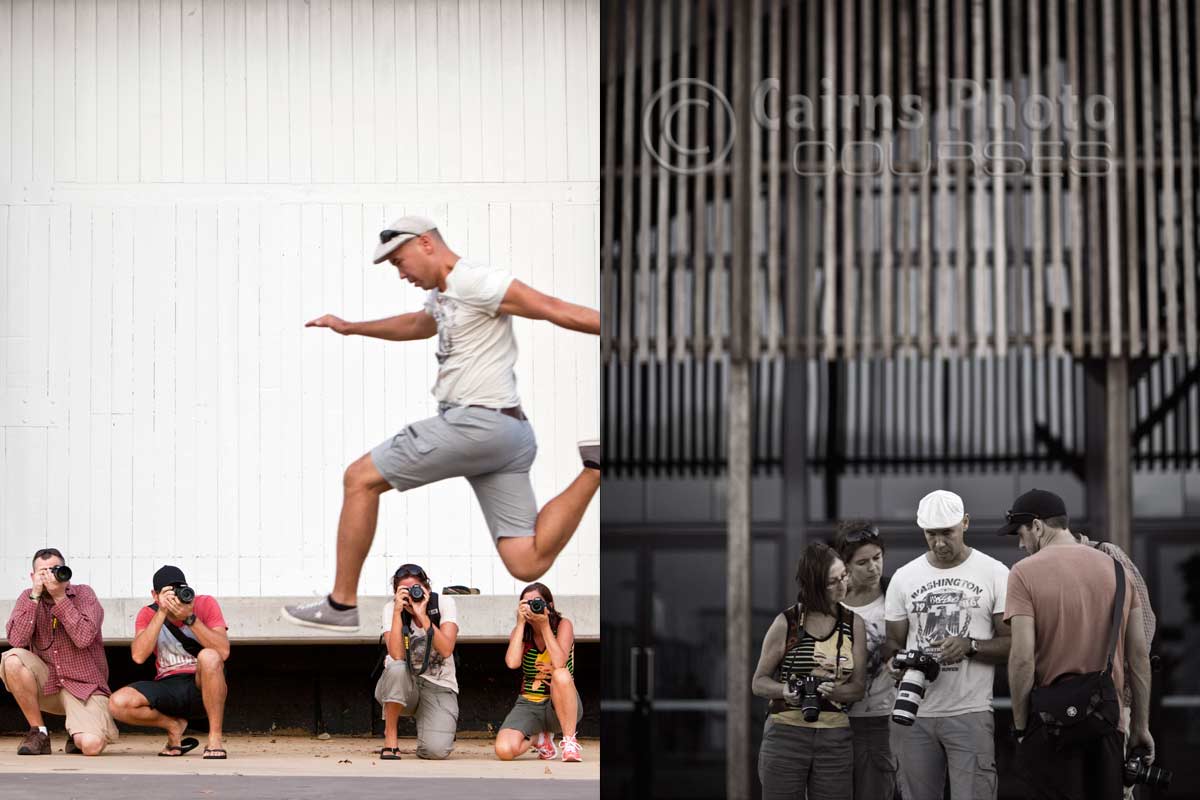
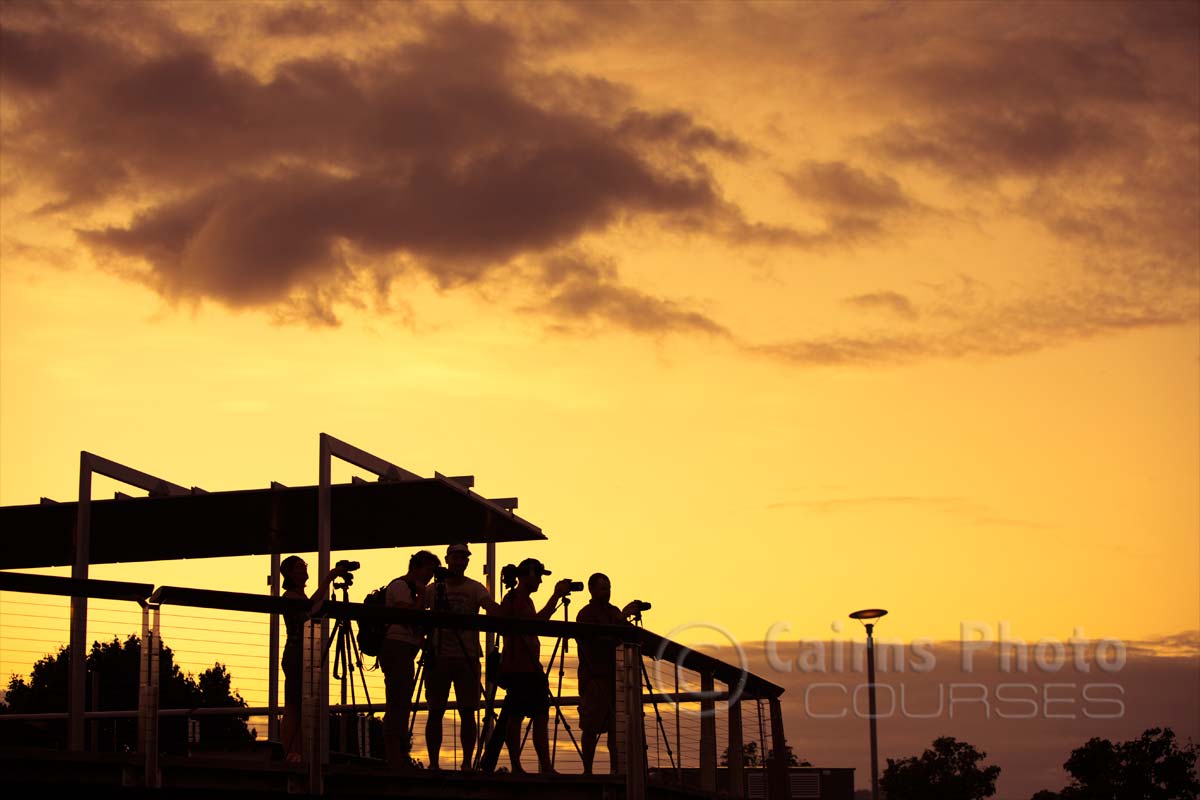
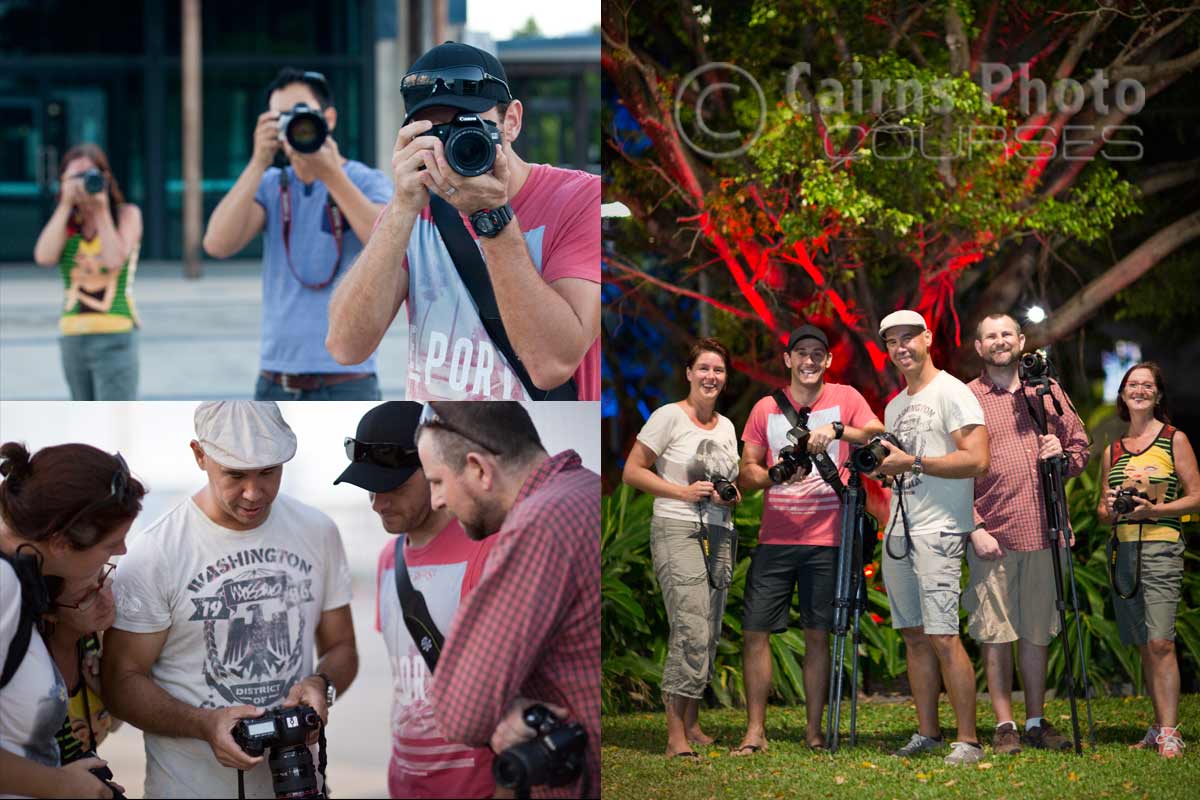
April DDP Field Shoot
Well April’s come and gone and we had a great bunch of students for the Discover Digital SLR Photography course. For our field shoot, we headed down to Shed 2 on the Cairns waterfront, to start putting everything learnt into practice. We were lucky enough to have Jaypee from MeFoto down with us, capturing some of the guys in action. After brushing up on our portrait skills we were at the marina for some twilight landscape photography, and then onto the Esplanade to learn a bit about night photography.